Seastar Pottery - Process
There is more to making a ceramic piece than just the throwing part.
Here is a little insight on what it takes to make a thrown on the wheel pot with a handle or other attachment.
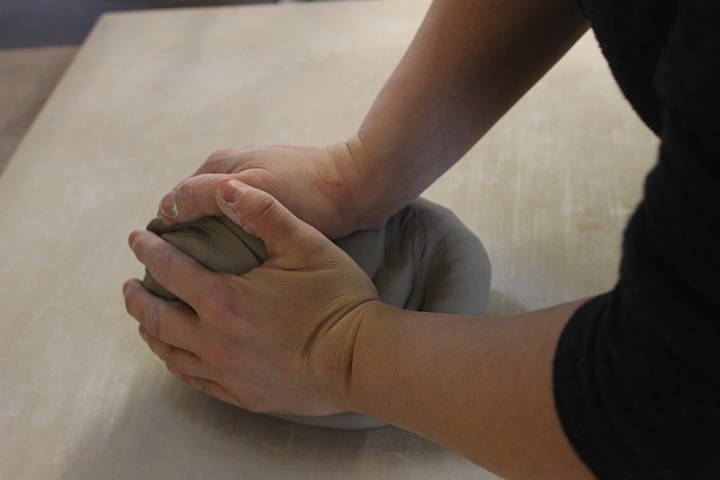
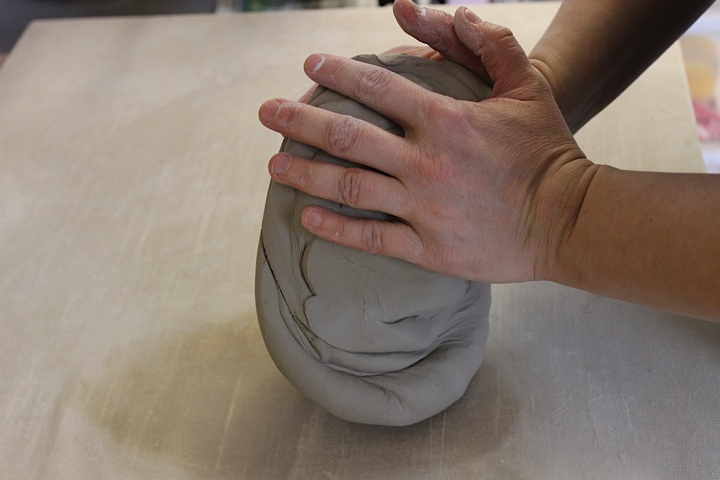
1-first the clay is wedged properly to make sure no air is trapped inside the clay.
If air is trapped in the clay it will cause the piece to break or explode in the kiln
and as a result break other pieces around it.
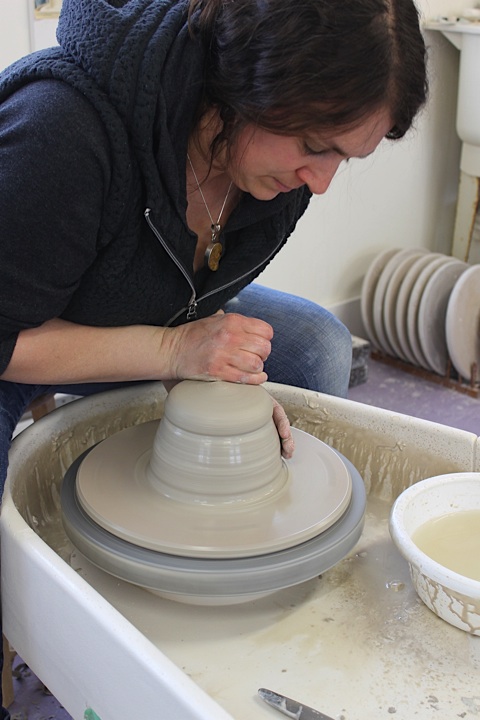
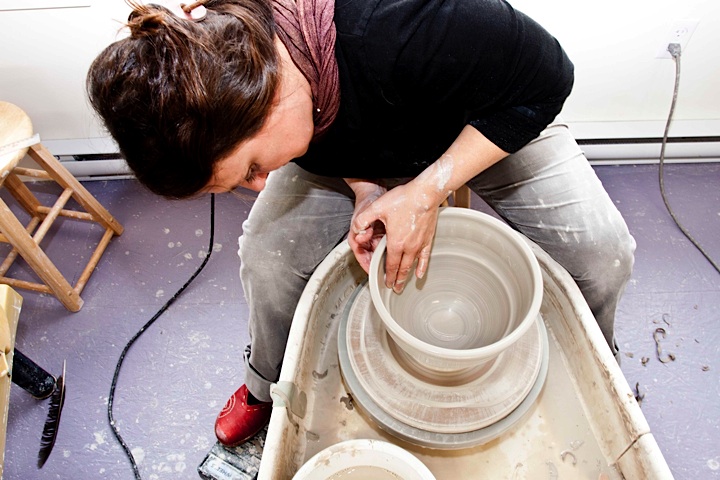
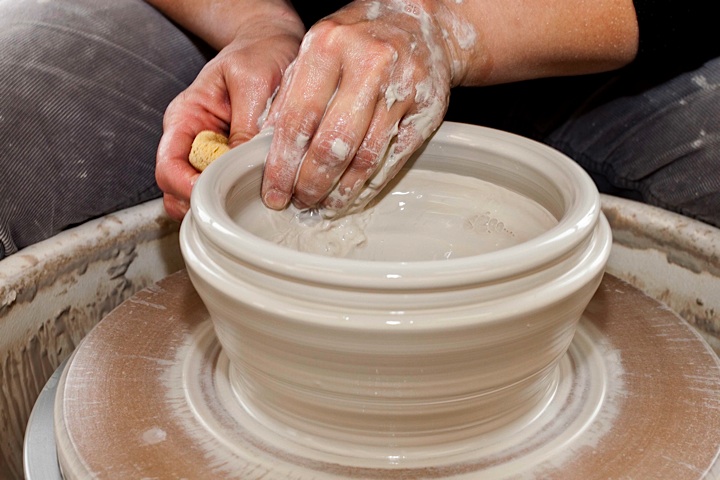
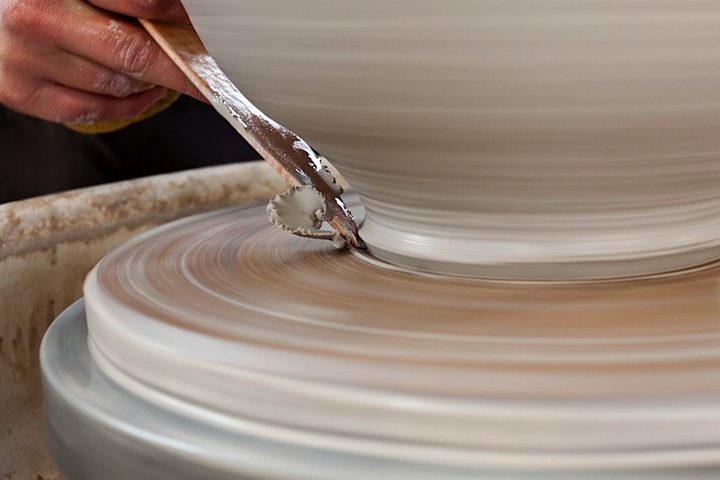
2- Throwing the piece; centering, opening the center, compressing the floor to avoid
cracking , pulling up the walls, shaping the pot and smoothing the rim.

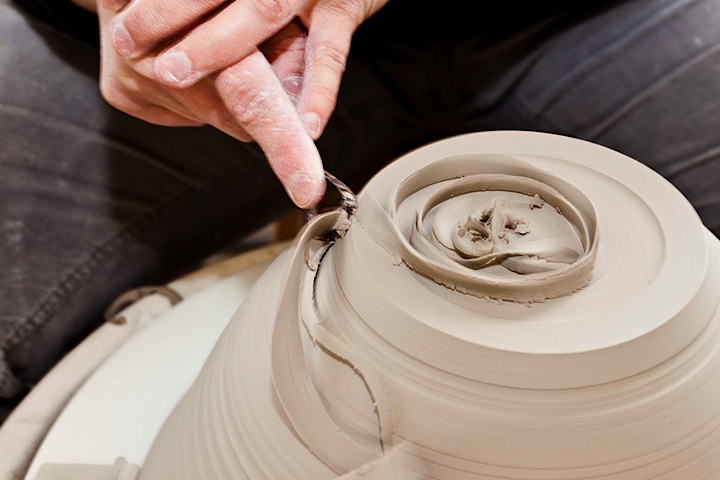
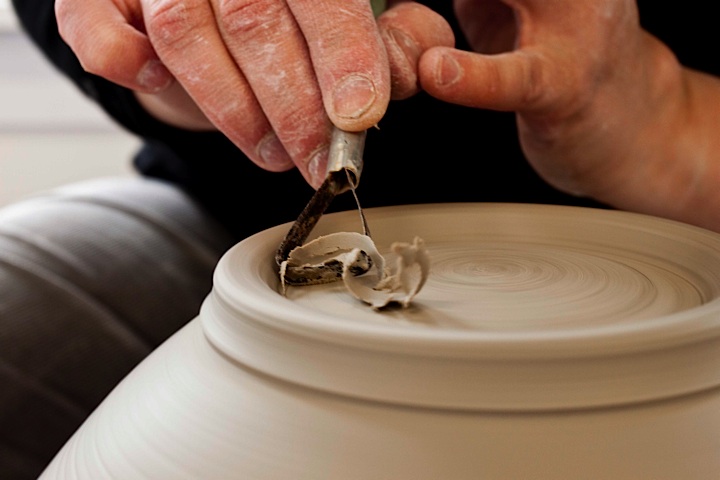
3-The piece is than left to dry to a leather hard stage.
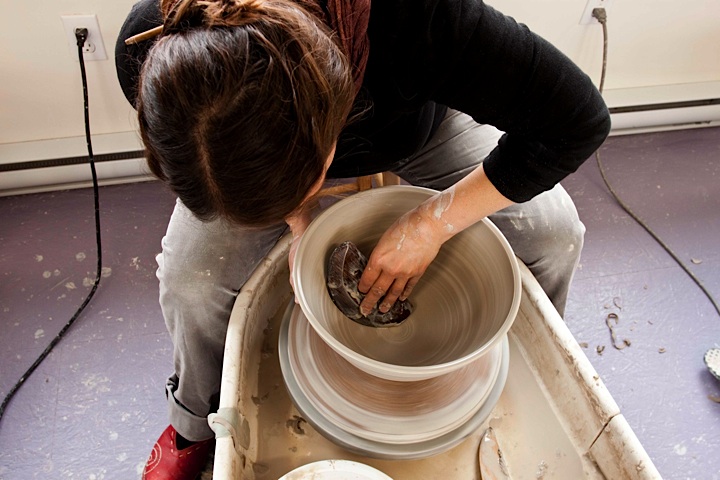
4-Once the piece is leather hard it is put back on the wheel to be trimmed.
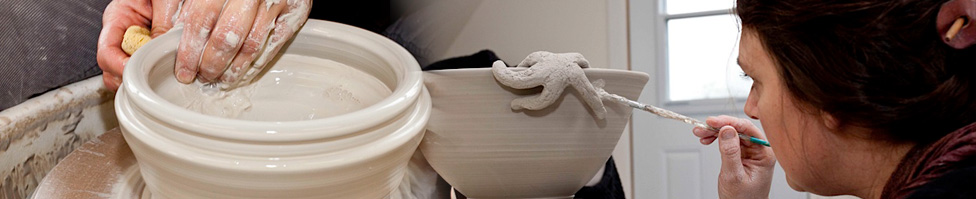
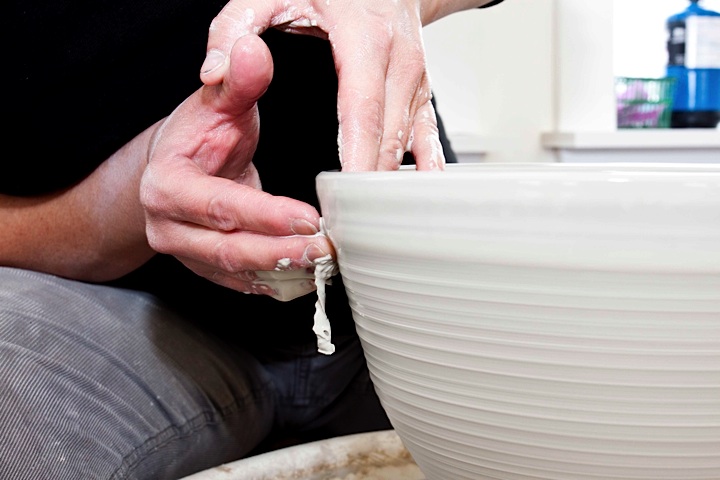
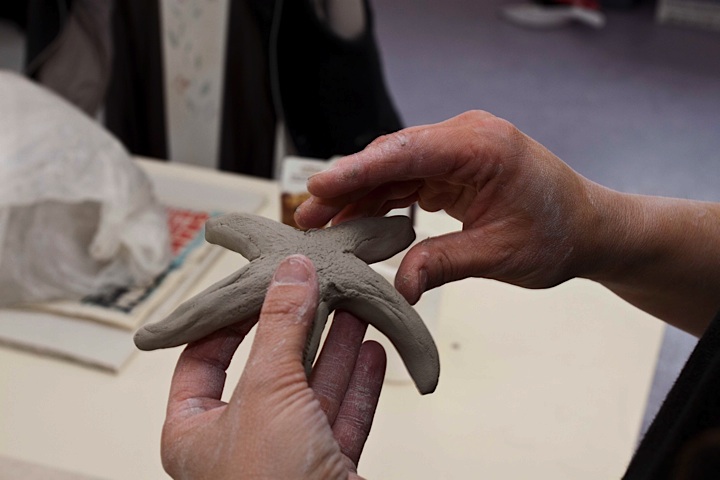
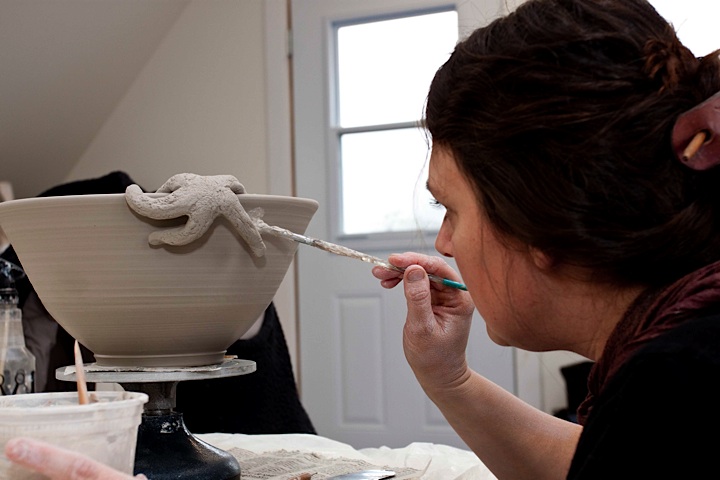
5-At this leather hard stage the handles are pulled or other pieces are sculpted and attached to the pot. It is important that the handle or
attachments are close to the same leather-hard stage to insure even drying. This will avoid handles or sculpted pieces from breaking off
during the drying stage.
6-Once the piece is finished it is left to dry .The drying time depends on how thick the piece is.

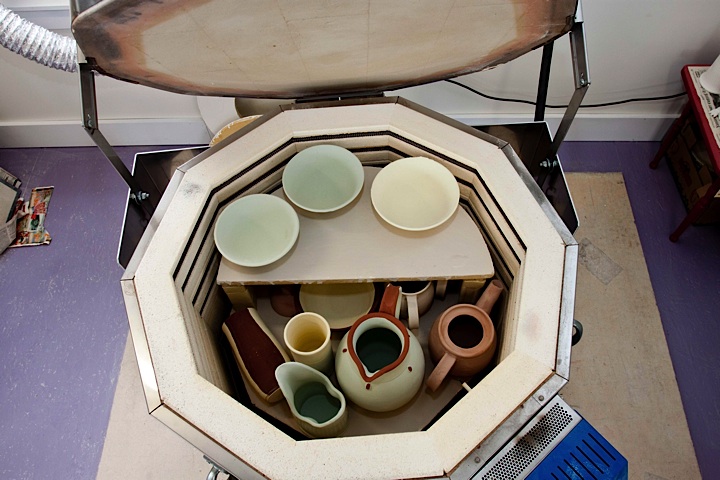
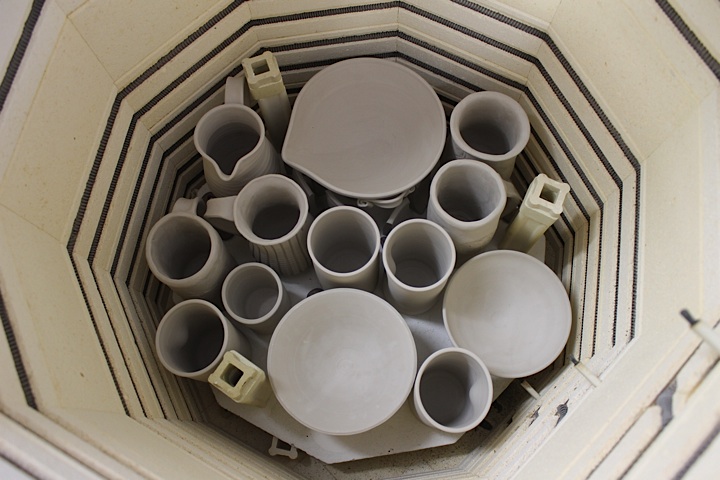
7-Once enough pottery is dry the kiln is loaded and fired to a bisque temperature.
This means the clay body is not fired to its full temperature. This open clay body
will allow the glaze to absorb to the pots.
8- When the kiln has cooled off the bisque-ware is unloaded and any sharp parts are
sanded.
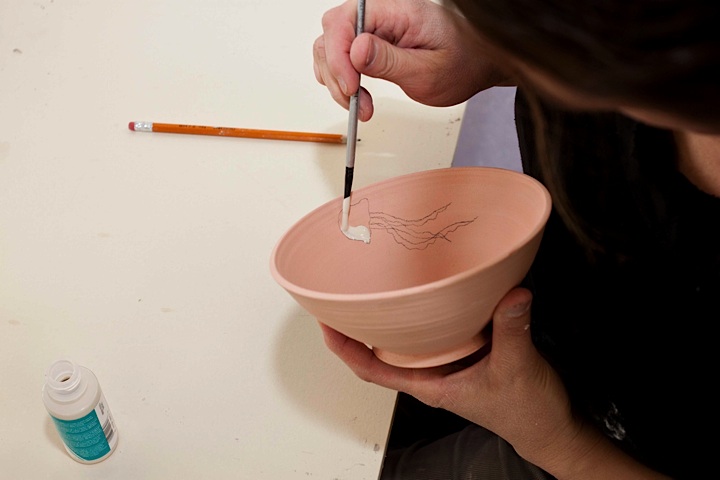
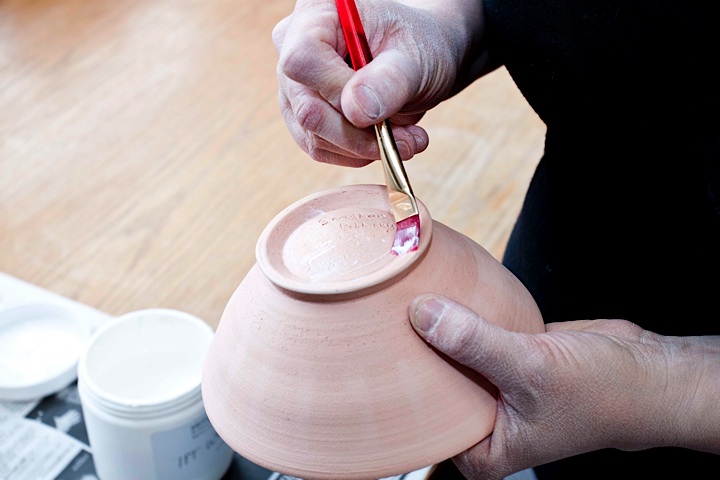
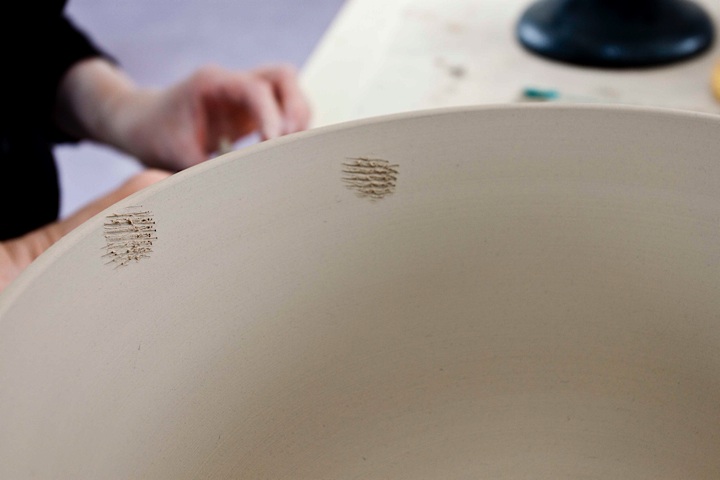
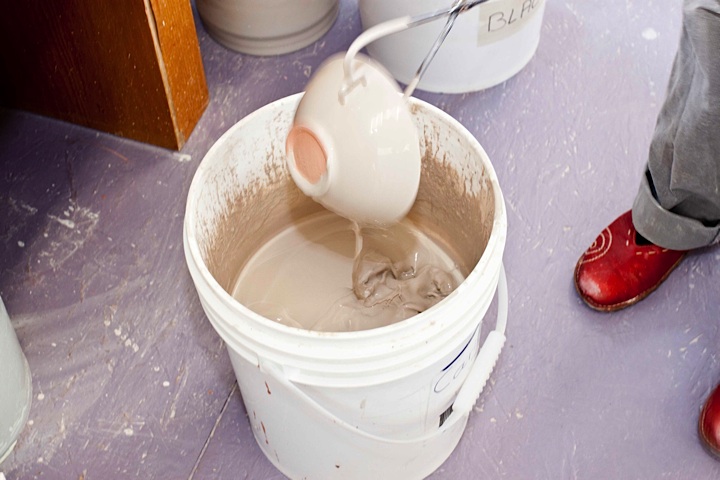
9- Glazing time! First the pot is waxed on the bottom to avoid the piece from fusing
to the kiln shelf. Next I paint on a design if desired and paint it again with wax
depending on what glaze I will be using. When the wax has dried the piece is
dipped into the glaze and left to dry.
10- Once I have enough pieces glazed it is time to load the kiln again and fire the clay
to its full temperature.
11-My favorite part; OPENING THE GLAZED KILNLOAD after it has cooled down
properly.
12-Next is unloading the kiln and sanding the bottoms of each piece with a fine
sandpaper so they are smooth to the touch.